
When it comes to selling a home, first impressions matter. High-quality real estate photography can make a significant difference in how quickly a property sells and the price it fetches. However, even the best photographers can only do so much if the home isn’t properly prepared. Whether you’re a real estate agent in Bozeman, a property manager in Big Sky, or an Airbnb host in Livingston - ensuring that a home is photo-ready is crucial. Here’s your ultimate guide to preparing a home for real estate photography.
1. Declutter and Depersonalize
The first step in preparing a home for photography is to declutter and depersonalize the space. Buyers want to imagine themselves living in the home, and that’s difficult to do when the space is filled with personal items like family photos, collectibles, and excess furniture. Encourage the homeowners to remove as much clutter as possible, keeping surfaces clear and storage areas organized. This makes the space look larger and more inviting, and allows the photographer to capture clean, uncluttered shots.
2. Deep Clean Every Room
A clean home photographs better—there’s no way around it. Before the photographer arrives, ensure that every room is thoroughly cleaned. This includes dusting all surfaces, vacuuming and mopping floors, and cleaning windows. Pay special attention to the kitchen and bathrooms, as these areas tend to accumulate grime and are often deal-breakers for potential buyers. A spotless home not only looks better in photos but also reassures buyers that the property has been well-maintained.
3. Enhance Curb Appeal
The exterior of the home is the first thing potential buyers will see, both in person and in photos. Make sure the outside of the property is just as photo-ready as the inside. This might involve mowing the lawn, trimming bushes, sweeping driveways and walkways, and adding some potted plants or flowers to enhance the entryway. If the property has outdoor features like a pool, deck, or patio, ensure these areas are clean and well-maintained as well. A well-kept exterior sets the tone for the rest of the home and can make a lasting impression.
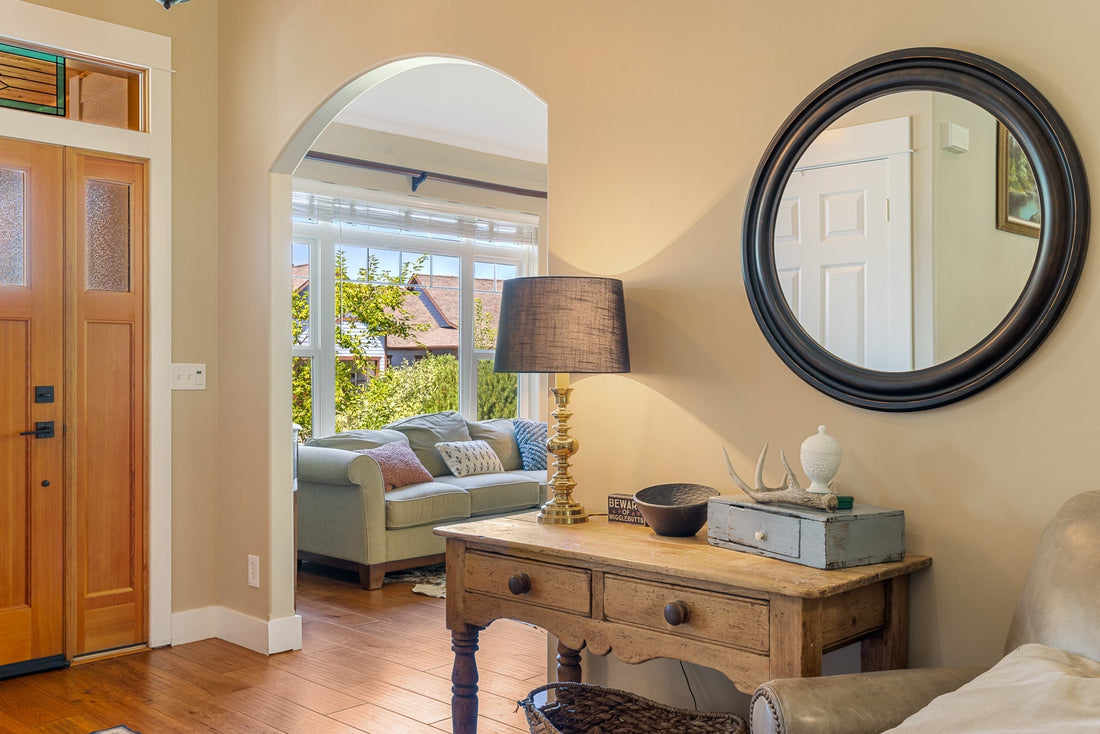
4. Maximize Natural Light
Lighting is one of the most important factors in real estate photography, and natural light is always the best option. Before the shoot, open all curtains and blinds to let in as much natural light as possible. Turn off any harsh overhead lights and consider adding some soft lighting with lamps if needed. For rooms that don’t get much natural light, strategically placed mirrors can help reflect light and brighten up the space. The goal is to create a bright, welcoming atmosphere that highlights the home’s best features.
5. Stage the Space
Staging is a powerful tool in real estate photography. Even if the home is already furnished, making small adjustments can make a big difference in the final photos. This might involve rearranging furniture to improve the flow of the space, adding fresh flowers or greenery, or setting the dining table to create a warm, inviting scene. In some cases, you might consider hiring a professional stager, especially for high-end properties or homes with unique layouts. Staging helps potential buyers visualize how they would use the space, making the property more appealing.
Preparing a home for real estate photography is an essential step in the selling process. By decluttering, deep cleaning, enhancing curb appeal, maximizing natural light, and staging the space, you can ensure that the property looks its best in photos. This not only helps attract more potential buyers but also sets the stage for a quicker sale. Whether you’re in Bozeman, Big Sky, or anywhere in Southwest Montana, taking the time to prepare a home for photography can make all the difference in achieving a successful sale.